How to use the
AAV•Tek™ PCR Sample Prep Kit
To help you get optimal results, here's a step-by-step guide for our AAV•Tek™ PCR Sample Prep Kit. The whole process should take less than two hours, end-to-end.
Have a question? We're here to help. Drop us a line at info@teknova.com or call 1.800.209.4488.

Products used in this protocol
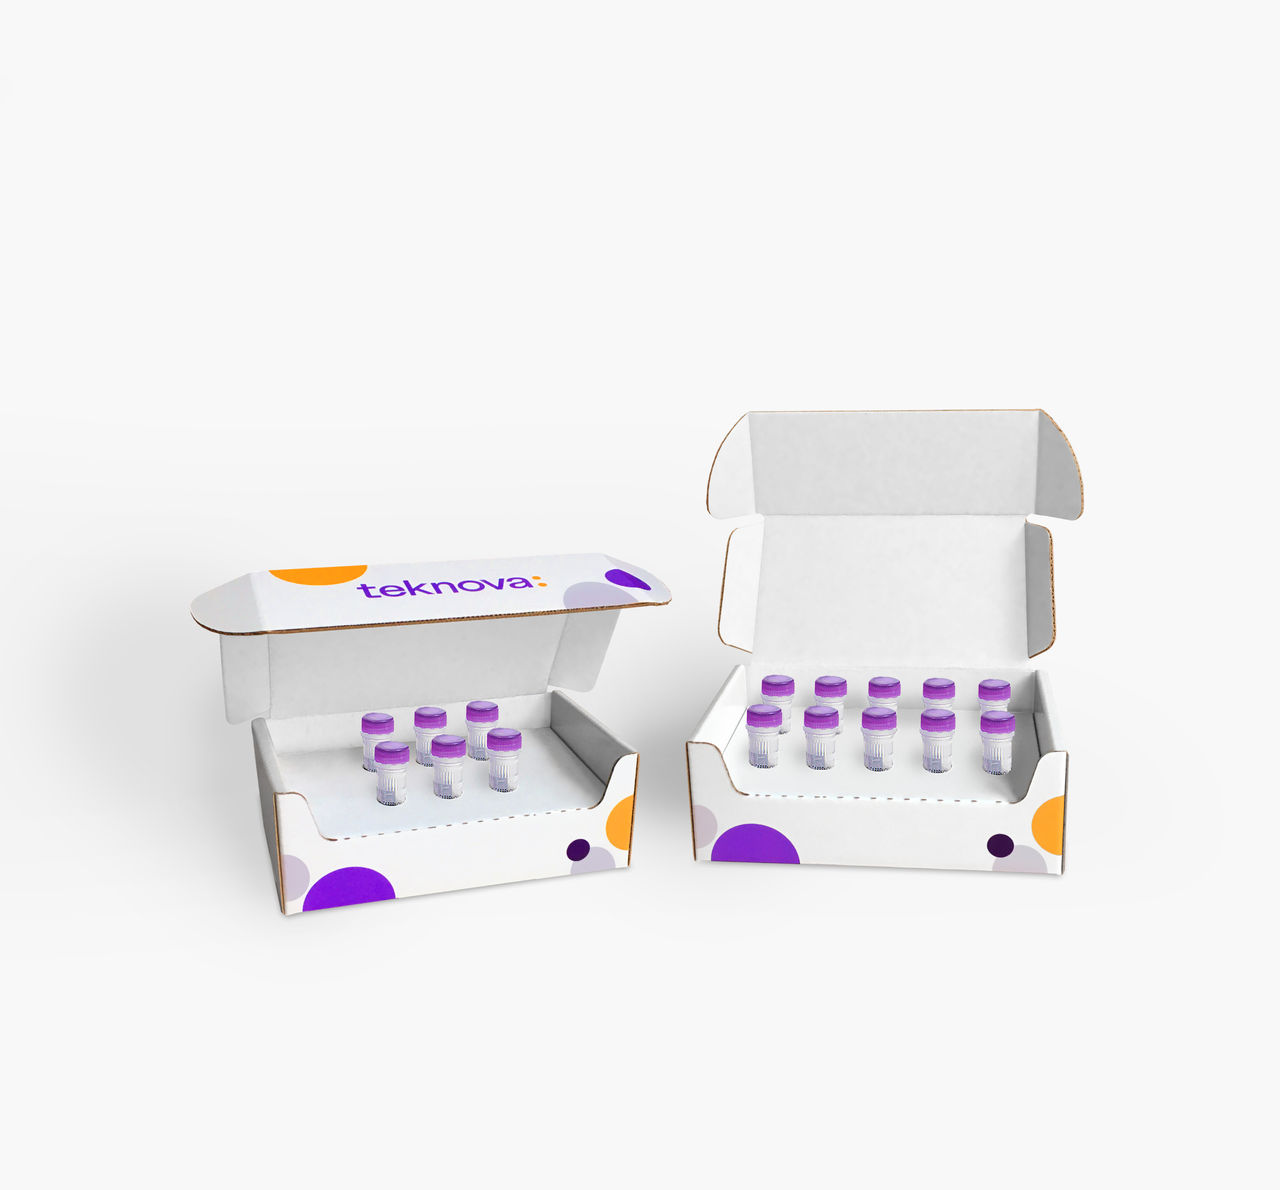
For your convenience, we offer the kit with the Dilution Buffer either in prefilled 96-well plates (10 plates with 1x Dilution Buffer) or tubes (10 tubes of 10x Dilution Buffer). Both versions of the kit include a DNase I Treatment consisting of 1 tube of DNase I (RNase-Free) and 5 tubes of DNase Reaction Buffer.
Both kits follow the same protocol and are designed to quantify multiple serotypes in various stages of the AAV production platform, i.e., from harvest to final purification, and can be used with standard PCR platforms.

Overview of the protocol

Although AAV material may have been previously treated with endonucleases during the harvest stage of AAV production, applying DNase prior to performing PCR analysis is crucial to remove all exogenous DNA to promote accurate titer.
1. Thaw the DNase I at room temperature, keeping it on ice. Centrifuge briefly all reagents listed in Table 1.
2. In a cooling block or on ice, add the following reagents according to Table 1 into sterile PCR tubes. Mix gently by pipetting up and down 10 times. Briefly spin down to ensure all droplets are collected at the bottom of the tubes.
3. Incubate tubes at 37°C for 30 mins in a thermocycler. After incubation, spin down samples and place back on the cooling block or ice in preparation for dilution.
Table 1: DNase I Treatment
Note: The volumes shown in this table are for one single sample. If you are processing multiple samples, we recommend preparing and dispensing a master mix prior to adding your AAV sample.
Reagent | Volume (µL) |
|---|---|
DNase Reaction Buffer | 40 |
DNase I | 5 |
AAV Sample | 5 |
TOTAL | 50 |
There are two options for dilution when using this kit:
- OPTION 1: 1x Dilution Buffer in pre-aliquoted 96-well plates (90 µl per well) for your convenience when processing multiple samples.
- OPTION 2: 10x Dilution Buffer in 2 mL tubes gives you the flexibility to prepare just the amount of reagent you need.
TIP: Both the 10x and 1x Dilution Buffers can be thawed at room temperature. However, they are sensitive to multiple freeze/thaw cycles.
OPTION 1: 1x PCR Dilution Plates
The 96-well plate format will contain frozen and sealed 96-well plates containing 90 µL of ready-to-use 1x Dilution Buffer.
1. Preheat a thermocycler to 95°C.
2. Thaw the required number of plates for ~20 minutes until buffer reaches room temperature. Centrifuge the plate for a minimum of 2 minutes at 2500 x g to collect all liquid at the bottom of the wells.
TIP: Neglecting this step will lead to inaccurate dilutions and higher percent CVs.
3. Carefully add 10 µL of DNase-treated AAV Sample to the first well of your dilution series. Mix well by pipetting up and down at least 15 times.
Serially dilute by transferring 10 µl from the first well to the next well. Continue across the plate as needed until your sample(s) is in the range for your PCR reaction.
4. Centrifuge the plate briefly to draw all liquid to the bottom of the wells.
5. Place the plate in the preheated thermocycler at 95°C for 10 minutes, then rapidly cool down to 4°C at a rate of 3°C/s.
6. Samples are now ready for PCR. You can transfer your prepared DNA immediately into your master mix after the capsid disruption step is complete, or store for 24 hours at 4°C.
Note: This kit is only for DNA sample preparation and does not contain reagents for a PCR reaction.
OPTION 2: 10x PCR Dilution Buffer
1. Preheat a thermocycler to 95ºC.
2. Thaw the 10x Dilution Buffer at room temperature then dilute down to 1X prior to use. 1 tube of 10x solution can make 10 mL of 1x Dilution Buffer. Thaw only the number of tubes you will need to avoid unnecessary freeze/thaw cycles.
3. Centrifuge briefly to collect all liquid to the bottom of the tube.
4. Dilute thawed 10x Dilution Buffer to 1x in PCR grade water and dispense into PCR tubes or plates depending on the number of samples and dilution range. Centrifuge briefly to collect all liquid to the bottom of the wells.
5. Place diluted samples in the preheated thermocycler at 95°C for 10 minutes, then rapidly cool down to 4°C at a rate of 3°C/s.
6. Samples are now ready for PCR. You can transfer your prepared DNA immediately into your master mix after the capsid disruption step is complete, or store for 24 hours at 4°C.
Note: This kit is only for DNA sample preparation and does not contain reagents for a PCR reaction.